Showing posts with label decor. Show all posts

Saturday, April 12, 2014

Hall Bath Makeover

As part of the ongoing quest to redo our home, we recently (ok, a few months ago) did a mini makeover on our hall bathroom.  I absolutely love it and am so excited to finally share it with you!

When we first moved into our home, our hall bath looked like this.

No joke, the former residents left the lovely shower curtain, and it looked like it had been there since the 60's when the house was build.  I quickly updated the shower curtain and decided to make the hall bath a Mickey Mouse theme, as it would be the primary bathroom for our kids, and I love all things Disney.  We used this shower curtain.

I was so sick of how horrid the vanity looked, I just couldn't take it any more. 


Do you see the gold and crystal knob hardware?  Super vintage and cool, but not so great for a kid bathroom.

I had my husband remove the doors for me.


He actually had to pry the hinges off because they had been painted over, and were seriously caked in paint.  Painting tip: ALWAYS remove or tape off all hardware when painting.

I sanded off about 5 coats of paint.  1-2 of off white, another of yellow, and yet another of a soft peach color.  It was bad.


I then paired the grooves of the door with a brush.

and rolled the rest of the door for a quick and even finish.


Then I started to paint the rest of the vanity.  I should say we, because one of my sweet and awesome friends came to help me.


We loved the way it looked so much, we decided to paint around the toilet as well.  I used press and seal saran wrap to protect the toilt from pain, and it worked perfect!


I had hubby replace the doors and install new hardware on them.  The change in the room was dramatic, and amazing.  I seriously love the bathroom.  I never thought I would have liked the black.  but I do.  It also goes perfectly with our Mickey theme.


Before I show you the dramatic side by side, the black paint I used.  It is CHALK PAINT!  I did it so the kids could have some fun art space.  However I love how clean and crisp the black looked in the space, so I haven't told them.  So please don't tell my kids that it is chalk paint.  

Mickey bathroom, disney, small bathroom, chalk paint in bathroom


I hope you like this transformation as much as we do.  It really only took a little bit of time and not too much money to transform.  It has really mad a huge difference.  Next on the list is to do something about that sink, add some shelving, and decor.

I am so please with how it turned out.   Every time my daughter goes in she screams "Mickey".  It is so adorable, and totally worth it.


Linking up here this week:

Tuesday, January 24, 2012

Mickey Mouse Birthday

For my son's 1st birthday, we chose a Mickey Mouse theme for his birthday party.  Honestly I had TONS of super cute ideas, but I ran out of time at the last minute.  I did manage to make some things happen and it was nice to have family and a few friends celebrate with us.

Here is the table.  On it is Max's 1st mickey hat, a picture from each month he has been with us, as well as other miscellaneous small Mickey favors, and the food.  It was all on a Mickey table cloth that we picked up at Toy's R Us.


As you can see I used 2 mini and one regular Oreo to top some of the cupcakes with Mickey ears.  I also purchased some Mickey candy toppers, and found a fun #1 candle at the dollar store that fit the theme.


I also used a Mickey cookie cutter to shape some rice krispy treats.  They were a big hit!  I also had veggies, just so that there were some healthy options.
 That was the extent of the decorations.  There were a few other Micky nicknacks around, but I don't have any good pictures of them.  Finally a picture of the birthday boy and his 1st cake.

Hope you enjoyed!  If you are looking for some more great Mickey Birthday ideas, check out my Pintrest board dedicated just to Mickey Birthday stuff, just click here!

Cheers!
Ashley

PS I love to PARTY!  Blog link party that is, check out where I party by clicking here and join the fun.  Also, if you know of another great party, please share it with me so I can join the fun there too!

Thursday, January 5, 2012

Max's room 1

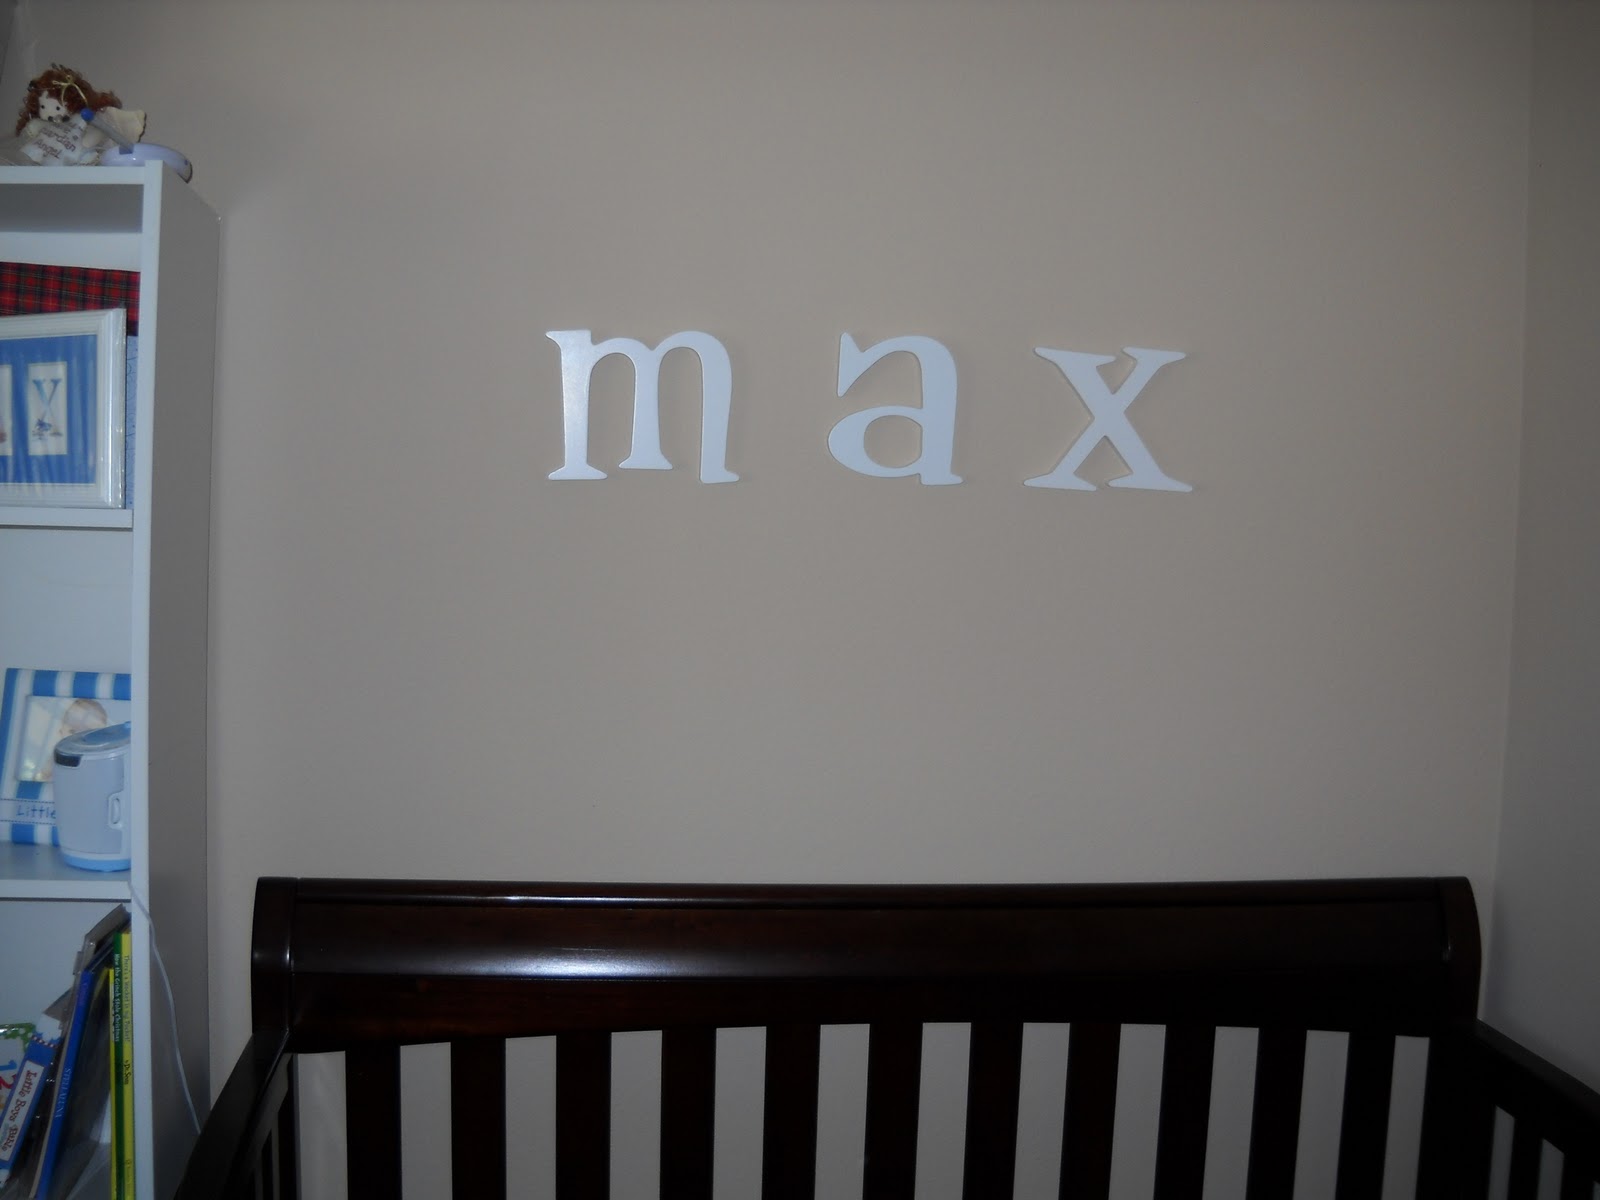
When my sweet baby boy was born, we were living in a one bedroom apartment. We had actually signed a new lease the weekend before we found out we were expecting. We knew that we were stuck with that one bedroom, so we never really did a nursery. I never got to set one up really. We just crammed the furniture we needed for him into our room, and made it work. I was so thankful to be able to decorate his room, and add some fun touches for him. One of the things I really wanted to do, was to add his name above his crib. I found these letters on clearance at Target for only $6.50 each.


They came with the option of hanging them with ribbon or flat on the wall, I chose to just mount them strait on to the wall without the ribbon, and to place them above the crib.  Here is what the crib looks like before.


I choose to enlist my husband to do the hammering, because he is just better than me at that stuff and I some how, ALWAYS hit my finger.  However the down side, is that my hubby insists on "eyeballing" everything.  *sigh  granted he always does a great job, but when putting holes in the wall, call me crazy but I would prefer to pre-measure, and use a level.


This is the end product, nothing elaborate, or fancy but it does make a personalized room for him and it makes me smile.


His room is still a work in progress, and we will have to be transitioning it to a room for two in the near future, but such is life.